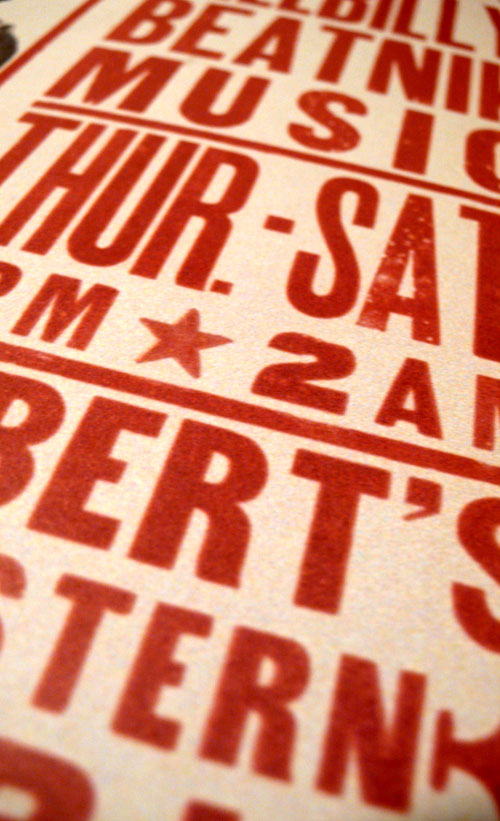
I am over at sfgirlbybay again today! I am sharing my letterpress/wood type love with the readers along with Hatch Show Print book I love.



Please see my whole post from here.
Note: Today is the last day to enter the letterpress card giveaway.
Let it swim
I am over at sfgirlbybay again today! I am sharing my letterpress/wood type love with the readers along with Hatch Show Print book I love.


Please see my whole post from here.
Note: Today is the last day to enter the letterpress card giveaway.
In the last class, we did something different – linoleum printing! Ohhh, it was fun!
Preparation – you can directly draw on the linoleum or trace something if you want to use certain art. Here, I traced a trumpet art by using a tracing paper. You can buy the linoleum on the board or just the sheet of it. The instructor had a sheet of it for us so we attached the sheet on a wood board with double stick tape before we worked on it.
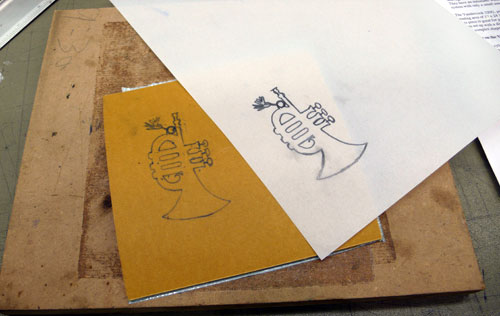
And you just carve it by using linoleum cutters!

It is softer than wood and easier to carve.
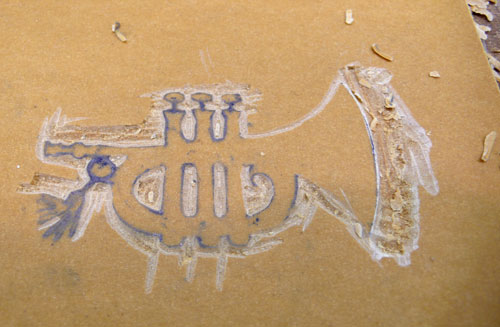
Almost done… I didn’t need all the linoleum so I cut out the rest.

and you just set it on the Vandercook press (You might need to place papers underneath to raise the board a bit) put some ink, and print.
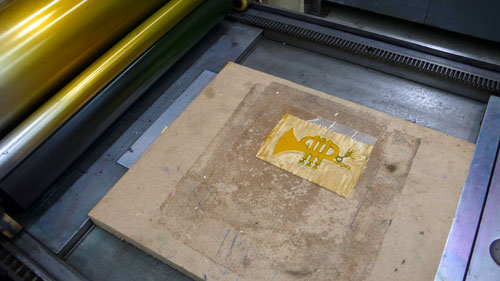
and here it is! My trumpet print!
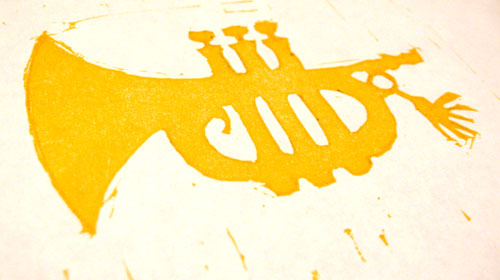
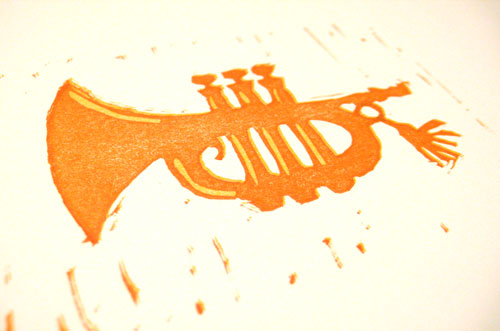
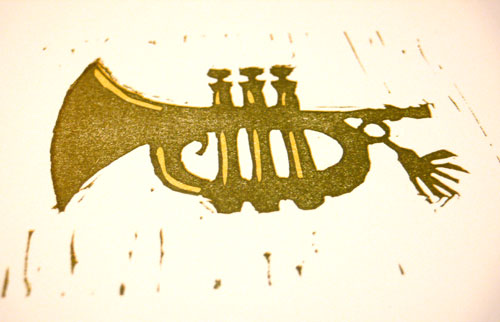
From here, I tried to experiment 2 color printing. I made a little change on the linoleum and so the first color would show though as highlight or shadow. And take the first print and go through the press one more time.

It came out nicely! I did one with orange, one with olive green.
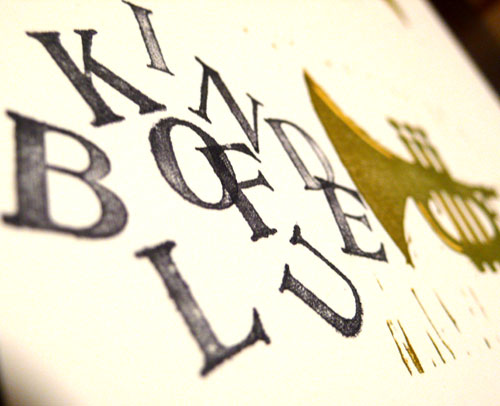
I also wanted to incorporate some letters so when I got home, I took my stamp set and created these prints.
“Kind of Blue” (inspired by Miles Davis album)

“I heart Jazz”
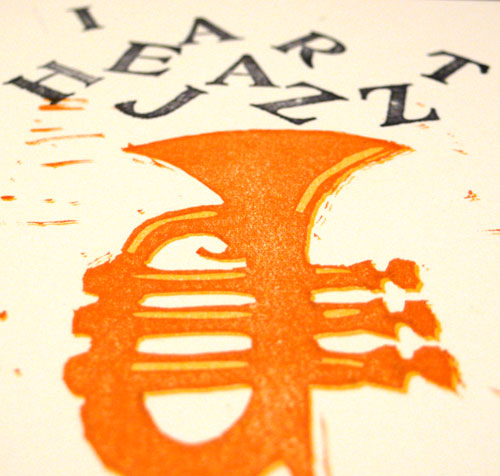
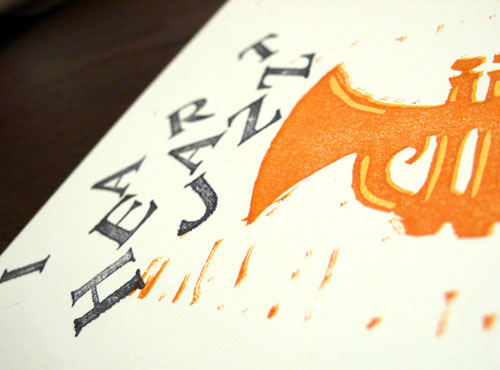
What do you think?
I want to make more lino prints now!
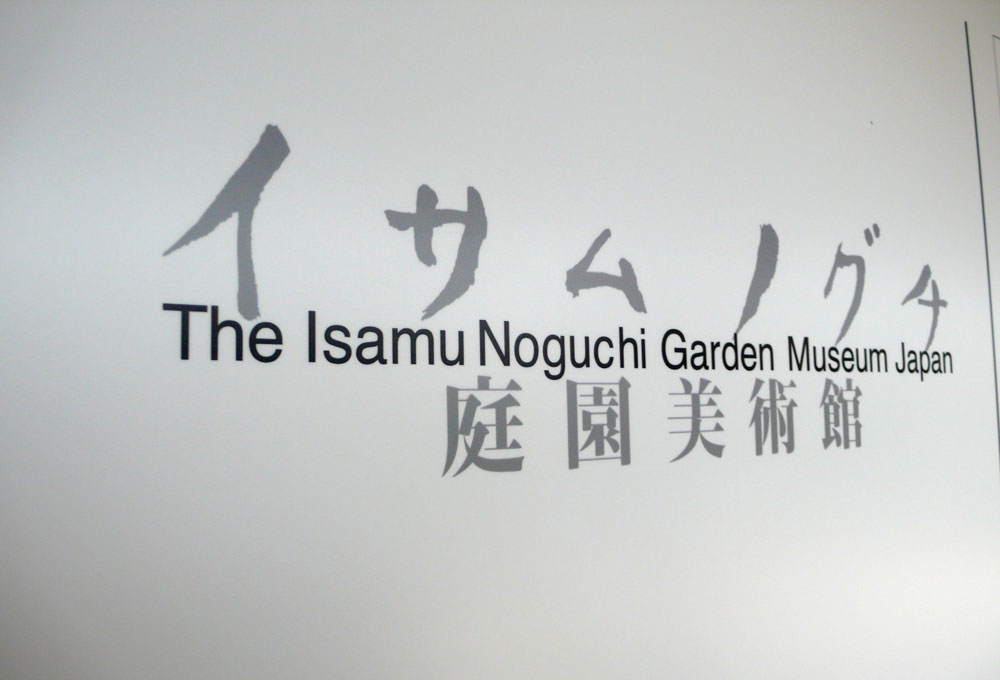
I am a proud guest blogger at sfgirlbybay today (and next Wednesday)! While Victoria is on vacation in Thailand, I am taking her readers to Japan (The Isamu Noguchi Garden Museum Japan) and back in San Francisco (Typography in SF). Please visit my full post here and here and other amazing guest bloggers’ posts from sfgirlbybay homepage.
The Isamu Noguchi Garden Museum:

Typography in SF:


If you are coming from sfgirlbybay, I hope you find something here at Heart Fish. Thank you for visiting!
Last Thursday, I learned how to do typesetting with small metal types. It could be a very tedious work, especially, if you are typesetting a whole book in 10-12pt or something (oh boy, I don’t know how long that would take!) I really like typesetting it by hand, though, I guess I’m on computer too much.
This is a composing stick. You use this to assemble pieces of metal type into words and lines.
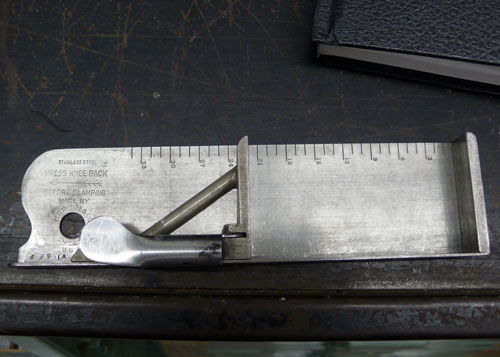
This is a whole set of “Garamond 24pt”:
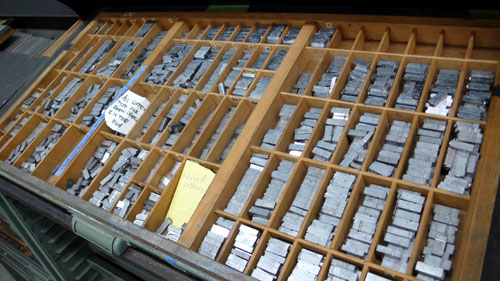
We each got a cheat sheet / Layout of the case. This helps a lot when you are setting a type one by one:

My work in progress. You start from the left bottom side, the letters are all up side down, but this is the top of the line. Yes, very tricky, at first:
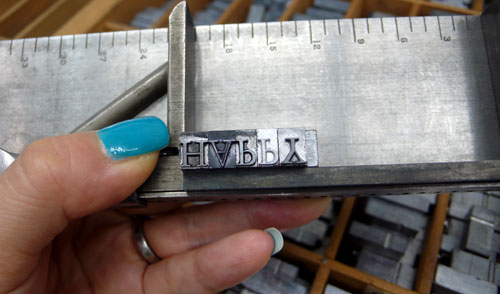
As the composing stick gets full, you place them into the tray and keep setting the types:
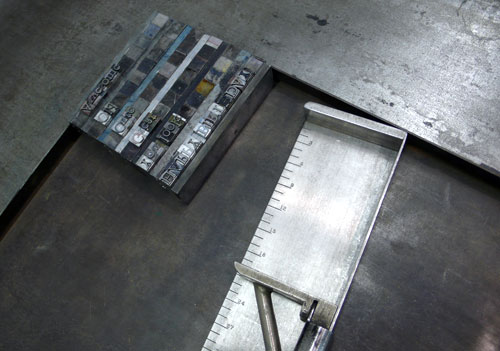
When you are done with typesetting, bring the tray and slide everything onto the press (so it won’t break or anything):

And you set the metal types tight by using those bars so they won’t move around and you are ready to print!
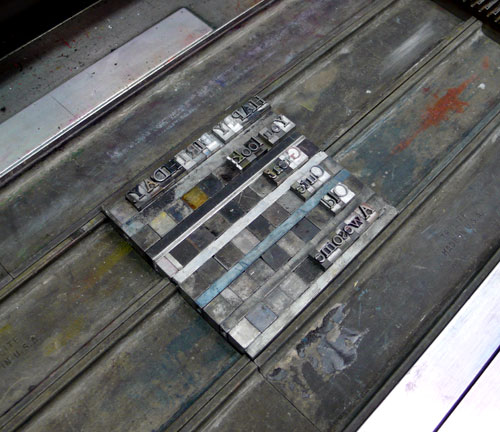
Here is what I printed this week – A birthday card with a little bit of DIY:

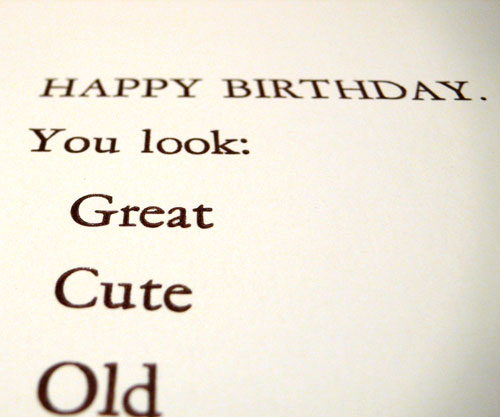
You just have to circle one that you think the birthday girl/boy looks! You can circle multiple if you’d like, and add more to it, make it funny, make it cool… it’s going to be personalized by you.
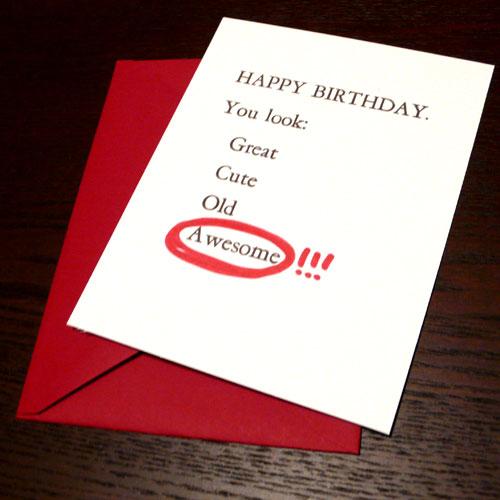
I am thinking to giveaway this letterpress card for my fellow readers today! Just leave your comment here by Wednesday, October 29th, and I will randomly select a winner. I will ship it Internationally if you are not in the US and you won the giveaway so please don’t worry.
It is an A2 folded blank card (4 1/4 x 5 1/2 inches) printed on 157lb rough surface white paper with an A2 envelope.
Thank you!